Blog

One Frame 008: Boy In The Bubble

I like to set mini-projects when visiting other cities or countries, just to make me more focused when walking around. I decided before arriving in Paris that I would shoot a series of square pictures on my iPhone using the Hipstamatic app. At that time this app allowed you to choose a lens and film simulation and shoot pictures with a wide range of looks, from pinhole cameras to plastic cameras and everything in-between. But the reason I chose Hipstamatic was that (back then) the effect was backed into the picture and couldn’t be changed. My goal with this project was to make a book using the Blurb platform when I returned home. I also shot with my Fuji cameras while in Paris, this was just a side project.

This shot always prompts a few questions when people see it. The effect is not from Hipstamatic as I was using a simple colour film look on this one. What you see here is my son Teo in a plastic ball that is pumped full of air and pushed out onto a pool full of water. The kids then try to stand up, walk, or run inside the ball, but always end up falling over. The plastic ball has a constant covering of water running down it and provides this painterly look to the picture.

I designed the book and sent it off to Blurb the day after I returned from Paris. I strongly recommend printing your pictures in one form or another. I have a folder called Prints on the desktop of my Mac that I drag a copy of any interesting photos that I make. Then every so often I send these to Loxley Colour and have prints made. I also make books using Blurb often and add them to my bookcase.

The 7”x7” book of iPhone pictures shot in Paris in 2005

SHOT WITH iPHONE 6 AND HIPSTAMATIC APP

One Frame 007: Man Down

Each year in the stifling heat of Italy, runners set off from Venice on The Moonlit Marathon, pounding the streets through Jesolo. During the 2012 event, one of the runners suffering exhaustion and possibly dehydration collapsed outside Hotel D’Annunzio. Spectators tried to help the runner by placing his feet on a chair and the hotel owner brought glasses of water, with most of that water being poured over the runner. An ambulance was called and the man was treated on the ground by paramedics before being taken away on a stretcher.

I picked up the Professional Photographer of the Year Award in the news category in 2013 for this picture. It’s still one of my favourites to this day. Although the composition is technically flawed. as the main subject is in the centre of the frame and there is a lot of dead space. at the bottom, I think it adds to the. drama, especially with the extremely crooked verticals. I shot frames before and after this one but everything just came together in this one shot, the water on the ground, the number on his chest blowing down and the man leaning over him with his hands on the runner’s chest. It’s a shot made for black and white.

SHOT WITH FUJIFILM X100

One Frame 006: Accidental Vintage

The vintage-looking portrait you see above of jazz trumpeter Tom MacNiven was the result of a happy accident. Back in 2016, I was shooting with two black X-T1 cameras that looked identical. I had been asked to shoot a set of promotional pictures of Tom for an upcoming set of concerts. After setting up my background, lights, and modifiers, I asked Tom to stand in position so I could set the power of my lights. I grabbed an X-T1 from my bag and attached the 56mm f1.2 lens, raised it to my eye and took a test shot. The picture was overexposed, but I noticed that the colours were way oversaturated and looked strange. Then I realised I had picked up the camera that I had used the day before with Fujifilm’s miniature effect engaged. I had forgotten to follow my own advice and reset the camera so it was ready to shoot straight out of the bag. I quickly switched out of miniature mode and carried on with the shoot.

It wasn’t until I imported the pictures into Lightroom that night that I realised there was potential in this picture. It was way overexposed, but to my amazement, I was able to pull the exposure down and retain detail in the highlights. I played around with the colours, but the miniature effect jacks the colours up to give that toy look. So I converted it to black and white using my homemade LR preset with the catchy title of ‘ Contrasty B&W Split Tone +V’ (my presets tend to do what they say in the title). The +V just means a vignette is included. I then made a few other tweaks to clarity and sharpness and the results are what you see above. I used Nik Silver Efex Pro2 to add the frame.

SHOT WITH FUJIFILM X-T1 AND 56/1.2

One Frame 005: Eiffel Tower

I couldn’t help but notice kids trying to drop things off the Eiffel Tower, sticking their grubby little mittens through the railing with a mischievous look on their faces. I thought about the damage even a small coin would do to someone’s head if it fell from such a hight. That got me wondering if there was any sort of netting used to prevent things from being thrown to the street below.

I couldn’t get my head through the railing, but I did manage to carefully get my X100T with the WCL-X100 wide-angle conversion lens attached to fit through. With the strap around my neck, I pointed the camera down toward the street and captured a single frame. The picture was just supposed to let me see what was over there, otherwise, I would have taken more than one.

If you look closely you will see all sort of things that have been dropped over the side by mischievous or clumsy humans. The worst of which are coins and metal keyrings in the shape of the Eiffel Tower.

SHOT WITH FUJIFILM X100T AND WCL-X100 CONVERSION LENS

Domke Ruggedwear Bags: Wax Problem?

Apologies for yet another Domke blog post, but I thought this would be interesting to those of you debating on buying a regular canvas bag or a Ruggedwear waxed canvas version. You don’t have to search too far on the internet on the subject of Domke to come across the great wax debate. In one corner you have the rugged wear users that swear the wax gets everywhere and all over bodies and lenses. In the other corner, you have the users that say this is just not true and that their bag had zero wax transferring to their hands. Well, I’m here to tell you that they are both wrong…I mean both right…eh.

I have owned a Domke F-3x Ruggedwear bag for about a year and a half, and now, having just bought a Military Green F-803 Ruggedwear version, I have found both sides to be correct.

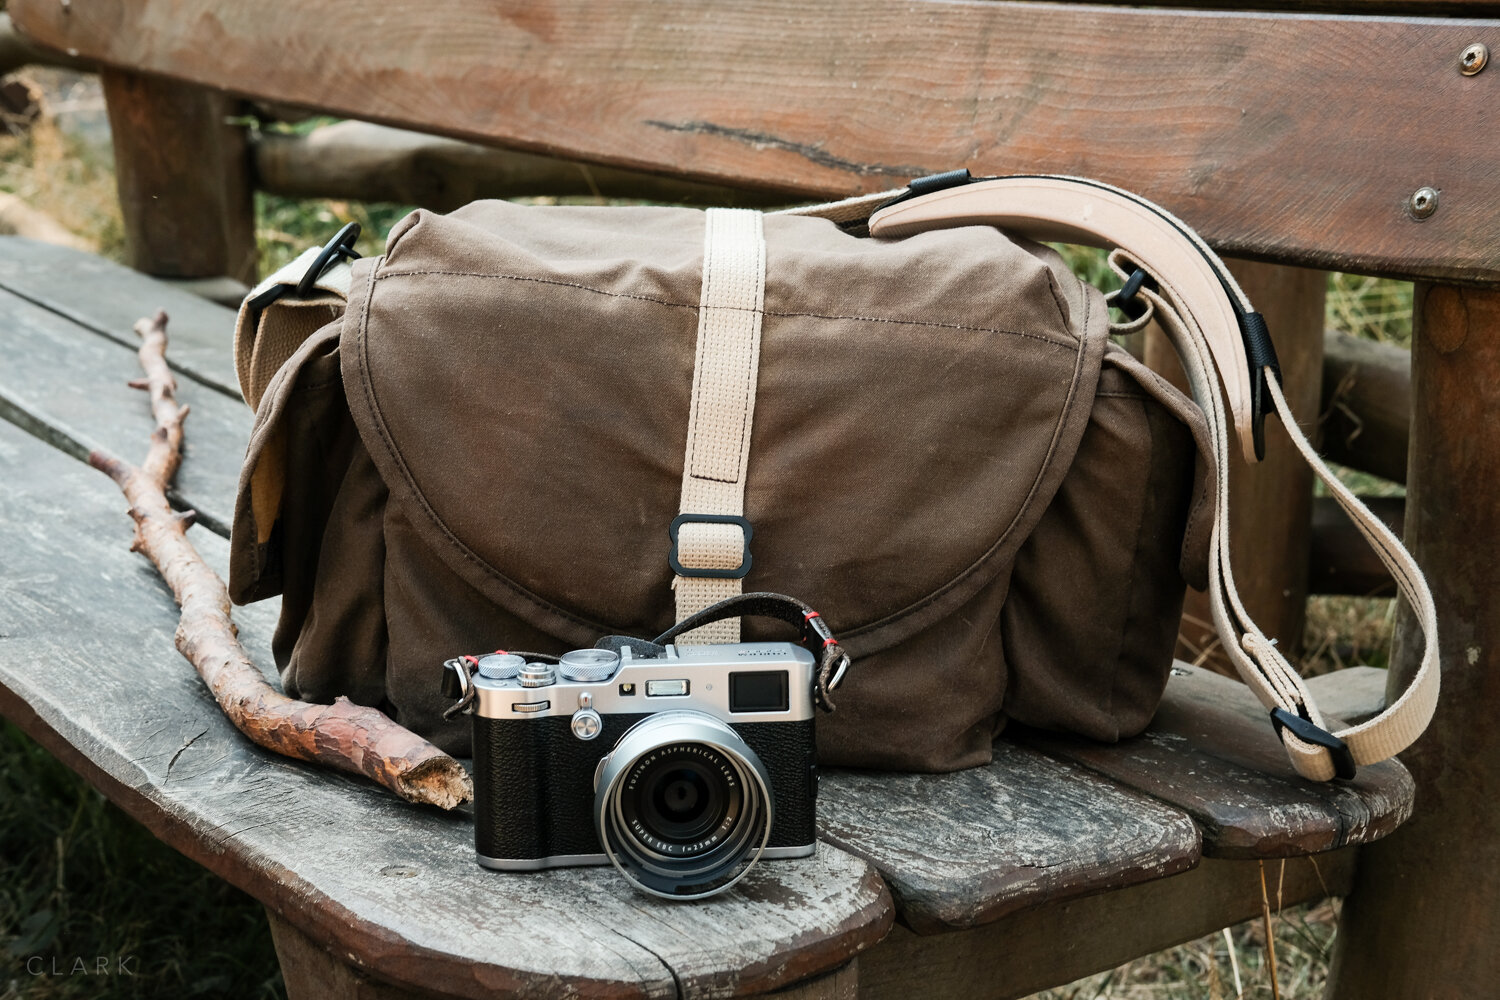
My Domke F-3x Brown Ruggedwear when it was new (left) and as it is now, dirtier but less waxy!

THE DOMKE F-3x BROWN RUGGEDWEAR

You can read my Domke Or An Ass post about the F-3x Ruggedwear and how I thought it might be a fake at first because the material was rather thin. But I just want to focus on the wax here. When the F-3x arrived from Amazon UK it didn’t look as though it had a lot of wax on it, definitely not compared to some I had seen on Google Images. But it was waxy to the touch, and being the type of person that hates having sticky or greasy hands, I wanted to get rid of the wax as much as possible.

I know some people will ask why I would buy the Ruggedwear version if I didn’t want the wax, but I like the rougher look and the softer material. I have a black canvas F2 for my music photography bag, which is great, but it takes a long time to break in and soften up.

So I put the F-3x out in the sun and then wiped the excess wax off when it melted. I even used a hair dryer at one point. Some people recommend putting the bag in a dryer with a towel, but I don’t have a dryer. But now my F-3x is much less waxy and I enjoy using it. Domke doesn’t recommend machine washing Ruggedwear bags, but that’s probably just to make sure the bag stays waterproof.

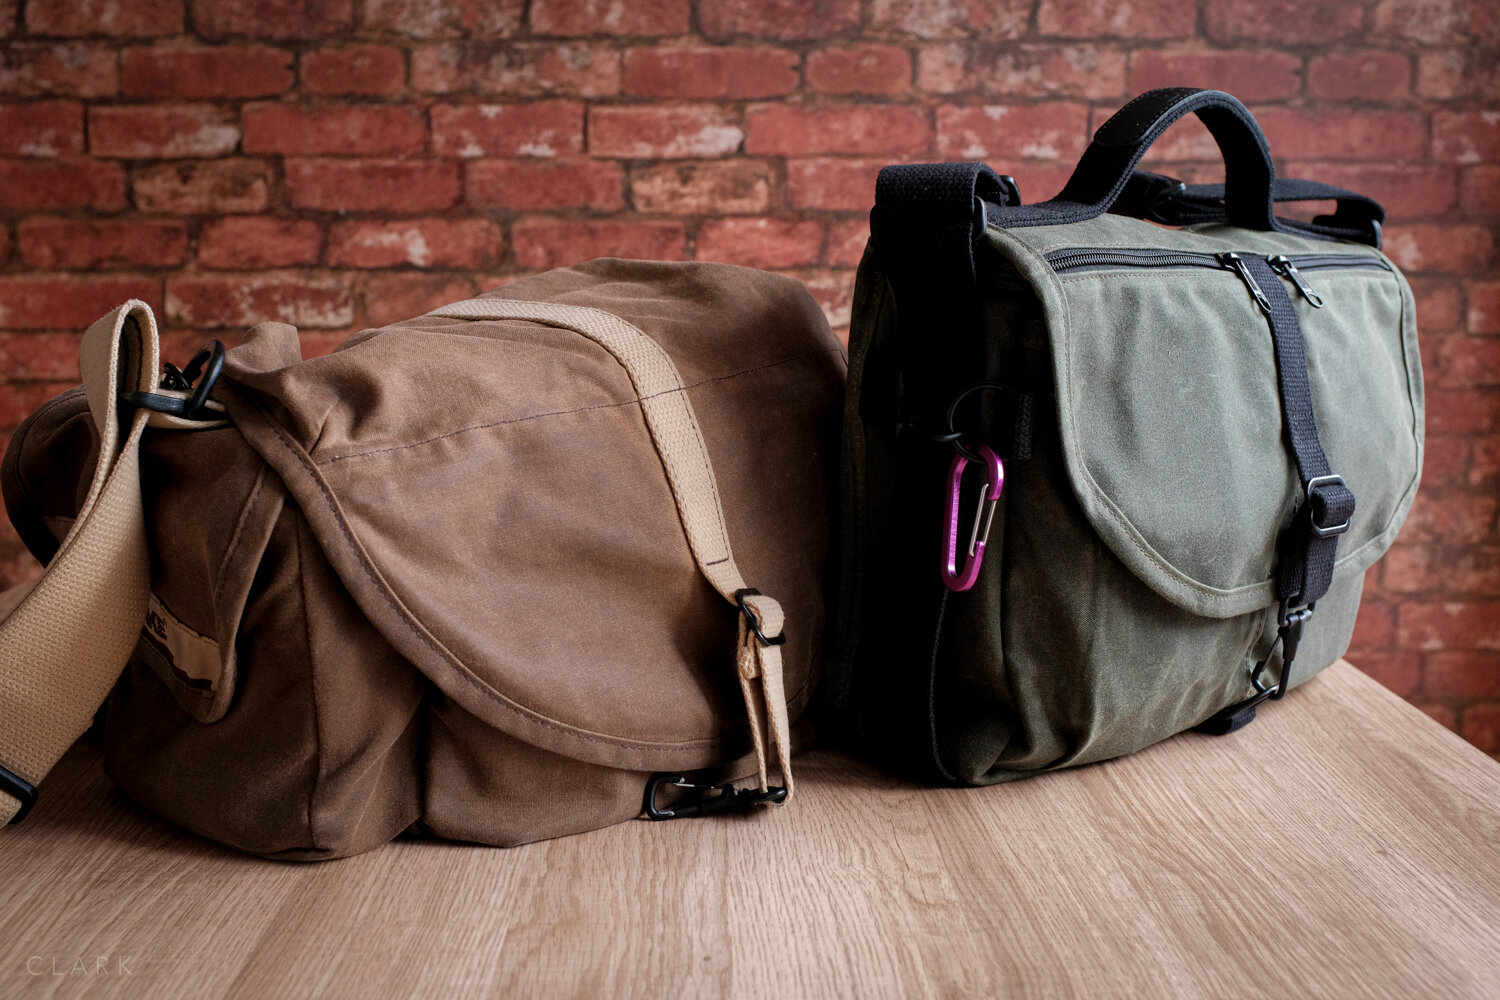
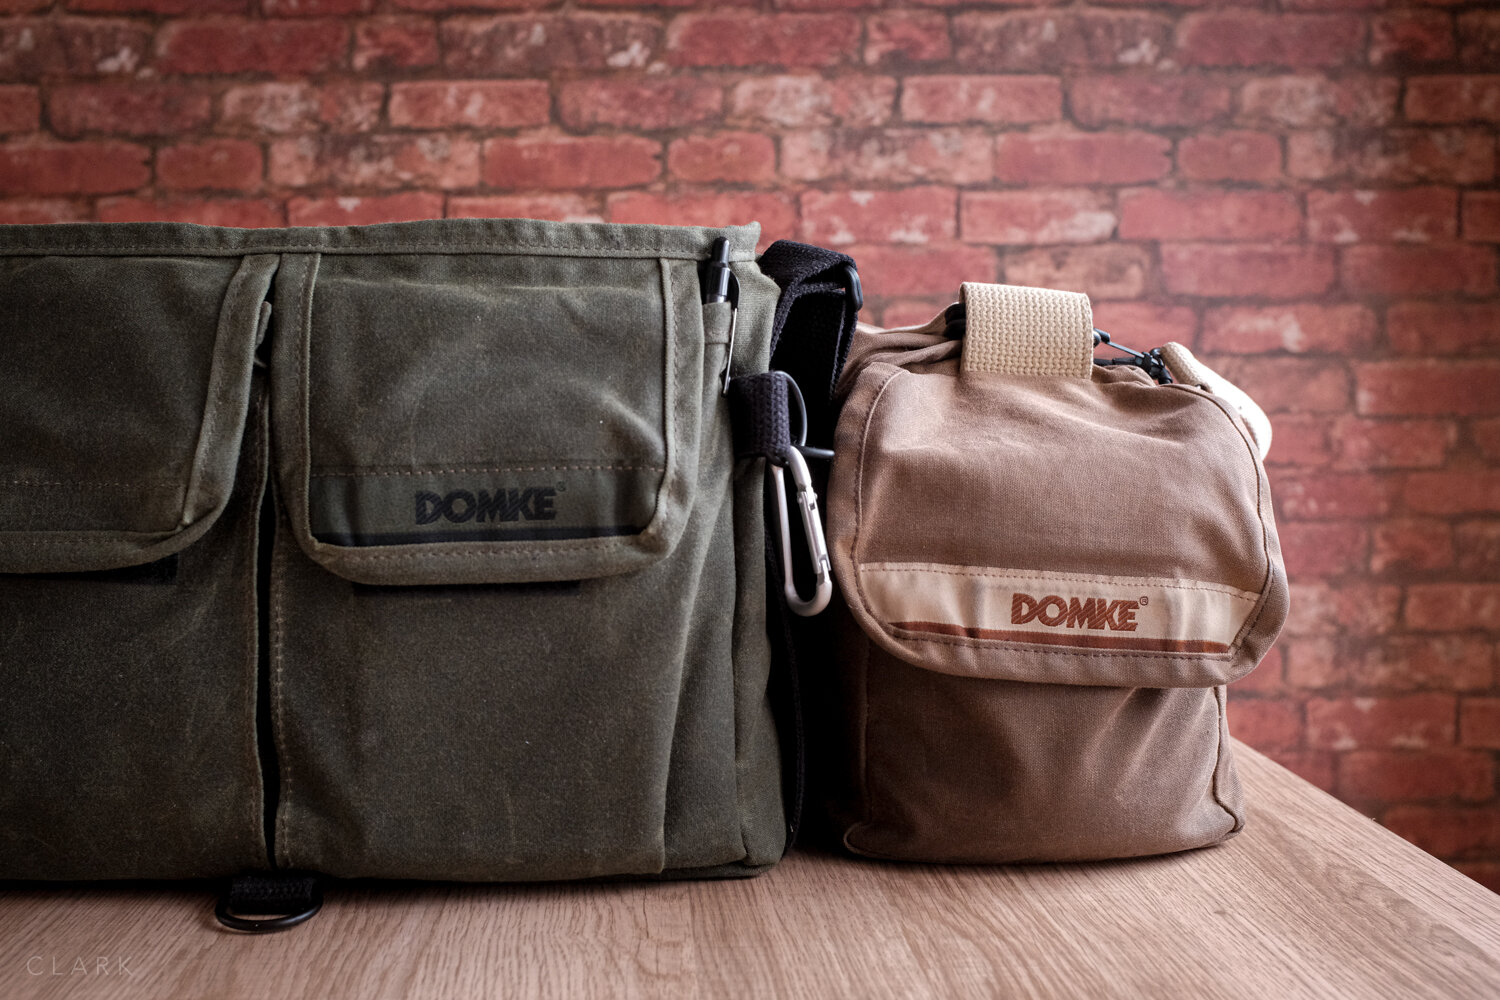
My newly acquired Domke F-803 Military Green Ruggedwear and the well-worn black canvas version

My newly acquired Domke F-803 Military Green Ruggedwear and the well-worn black canvas version

THE DOMKE F-803 MILITARY GREEN RUGGEDWEAR

Although I have an old and worn black canvas F-803 that is really soft and comfortable to use, I have been on the lookout for a Military Green version of the F-803 of the F-3x. So when an F-803 Military Green Ruggedwear showed up on Amazon recently, I bought it straight away, even though it was in the US and I am in Scotland. I wondered if the wax would be a problem and I had decided that I might just risk it and throw it in the washing machine a few times.

But when the new F-803 arrived, I was pleasantly surprised that it didn’t feel waxy at all, even though it looks waxier than the F-3x did when it was new. I can rub my hands on the surface and there is zero wax transferring on to my skin. I can put notebooks business cards or even my Fuji x70 into the front pockets without worrying they will get wax on them. The material of the F-803 feels slightly thicker and stiffer than my F-3x, but maybe the latter was like this when new too.

The Ruggedwear version of the F-803 does have a green lining on the inside and under the top lid, which the the canvas version doesn’t have (neither does my F-3x). This makes the bag feel a bit more higher quality than the others.

The extra lining of the F-803 Ruggedwear bags is a nice touch.

It was a bit of a gamble buying this Military Green Ruggedwear version of the F-803. I could get away with putting an insert in to protect my cameras from getting wax on them, but I use the front pockets of the F-803 series a lot for notebooks, pens, business cards, batteries etc. My worsed case scenario was returning it or selling it on Ebay, but I’m really happy with this bag and I’m looking forward to putting it through loads of abuse during the next few years. It will easily carry an X-Pro2 with attached 35/2, an X100 series, and either a couple of extra lenses or my X70 (or all of that if I really had to). The two little zipped pockets on the outside of the bag are an added bonus and are good for spare memory cards and business cards. They are also a great place to keep train tickets or packing tickets as they are always quickly accessible. There is also a pocket on the back large enough for an iPad.

There is a Fujifilm version of this bag in sand-coloured Ruggedwear. If any of you own one of them maybe you could mention in the comments if they suffer from being waxy or not?

MORE DOMKE POSTS

You can buy the Domke F-803 Military Green Ruggedwear at Amazon UK

You can buy the Domke F-3x Brown Ruggedwear at Amazon UK

One Frame 004: Jeremy Corbyn

001_DerekClarkPhoto-One_Frame-Jeremy_Corbyn.jpg

I was heading to the Edinburgh Fringe with a couple of Friends (both called John) to shoot some pictures. We had decided all three of us travel there on the train so we could have a chat on the way. As we got off the train, one of my friends mentioned that Jeremy Corbyn was walking behind us on the platform. I asked who he was and John said he was about to become the leader of the Labour Party and possibly the UK’s next prime minister. So I spun around and shot a frame (which was out of focus). I grabbed another one as the entourage went through the ticket barriers (the one above).

That was back in August 2015 when I knew nothing about politics. Fast forward to today April 2020 - I still know nothing about politics, but I do know Jeremy Corbyn is not the prime minister. I don’t think he’s even the leader of the Labour Party...but I could be wrong.

I don’t vote and I couldn’t care less who is in power in Scotland or the UK. To me, they will all do as good or bad a job if it, they just move the chess pieces round differently. But I do think my impartiality would make me the ideal photographer to cover political event…I would just need somebody to point out who is who :o)

SHOT WITH FUJIFILM X100T

What's In A Music Photographers Bag

I sort of fell into the genre of music and over the last seven years, I’ve shot more than 300 artists and taken more than 50,000 pictures as a music photographer. I shoot all types of music, but mostly jazz. I am currently the official photographer for the Scottish National Jazz Orchestra (SNJO) and my pictures have been featured on album covers, tour posters and magazine publications. At the time of writing this post, I am putting the finishing touches on a book featuring the last 7 years with the SNJO.

THAT WAS THEN

There was a time when I shot Nikon alongside my Fuji’s, but with the release of the Fujifilm XF50-140mm f2.8 my D800 (amazing camera) ended up staying at home, and after six months or so of no use my full Nikon kit was sold. I also used a Lowepro backpack for a long time, but as I often have to pull my camera back out of the bag just as I am about to leave a venue, a shoulder bag is the way I go these days (mostly).

THIS IS NOW

These days I am using a Domke F2 (black canvas) bag. It’s not a massive bag, but it’s not small either. What I can fit inside the F2 is about as much weight as I want to carry and as it is packed full, I have to take out a lens if I want to include a different one. This works well for me as I would end up carrying way to much gear otherwise. If I know I’ll be shooting a lot of backstage pictures I might wear my belt-pack to the gig and put an X-Pro2 body in one of the side pockets as I prefer a rangefinder-style body for that sort of shooting.

SIDE POCKETS

Starting at the F2’s side pockets. I have a BlackRapid Yeti double harness strap, a Manfrotto Pixie mini tripod and a Spider Holster in one pocket, and a small pouch that attaches to my belt in the other pocket.

BLACK RAPID YETI

The BlackRapid strap takes up a lot of room and I have thought of getting rid of it and using regular straps many times, but this harness works well and is easy to adjust quickly for one camera or two.

SPIDER HOLSTER

The Spider Holster is rarely used but can be handy when using a third camera. I keep the spall spanner/wrench in my belt pouch for attaching the little stud to the bottom of the camera.

BELT POUCH

These tactical pouches are available on Amazon for very little money and are essential for what I do. I put this on my belt as soon as I arrive at the venue and it saves me from having to get to my bag (which can be at the side of the stage) for essentials. I keep a notebook, pens, spare batteries, SD cards, business cards and a lens cleaner in this. It also has a section on the outside for my iPhone, which I insert upside down, face inward (and muted) so that it doesn’t light up on its own.

LOWEPRO PADDED WRAP

I have had this green Lowepro padded wrap, that came with another bag, for years. It is folded like an envelope and mostly just lies on top of my gear as the F2 doesn’t have any padding. I keep an iPad mini in the zippered pocket on the lid of the F2, which protects the screen on the back of my camera, but the wrap is just added protection. It can also come in handy for kneeling on or a number of other uses.

INSIDE THE BAG

FUJIFILM X-T2 AND XF 16-55mm F2.8 WR

The Fujifilm XF 16-55 f2.8 lens is attached to my X-T2 most of the time and this the camera and lens combo that I keep handy at the top of my bag so that I can pull it out or put it back in the F2 easily. It sits in the bag with the lens facing down. This comes in handy when leaving a venue as I often have to pull a camera out for a few shots, or if I keep it out it means I can slip it back in at the venue door without needing to remove the bag from my shoulder. Something the backpacks are not functional for.

THE FUJIFILM X-T3

The amazing 50-140 f2.8 lens is my concert workhorse. It can’t fit in the Domke attached to my X-T3, so the camera body fits inside the F2 square insert. These inserts are divided into 4 sections for lenses, but unlike the older versions that were sewn, the newer ones have Velcro so the section can be adjusted to take the X-T3 with the battery grip attached. This also creates a space for my Zoom H1 audio recorder (more on that later). I attached a spare Billingham Velcro insert above the X-T3 that acts as a hinge and folds over to protect the X-T3 and X-T2 from bumping into each other.

SWITCHABLE LENS

Still on that square Domke insert (this one is included with the F2). I have the 23mm f1.4 lens in the photo above, but this is where I keep my switchable lens. By switchable, I mean that if I need to bring another lens, it will go in here and the 23mm will stay at home. This stops me from carrying too much equipment and weight (more on these extra lenses later).

Front pocket contain audio equipment (left) and white balance tools & business cards (right)

LENSES

I have a 16mm f1.4 and a 56mm f1.2 stacked in a tall square Domke insert I bought on Ebay. I use the JJC square metal lens hood on both these lenses (and the 23/1.4), so they can be stacked safely as they have flat plastic caps. I highly recommend these lens hoods. They are equal in quality to the Fuji optional ones, but less expensive.

The 50-140mm f2.8 workhorse lens sits inside a Domke insert that comes with an F-4AF bag. This insert is a bit wider and has the space required to include the tripod mount on the lens. I attach the BlackRapid strap to the tripod mount instead of the camera as the weight of this heavy lens would put too much strain on the camera’s lens mount.

NISSIN i40 FLASH

I rarely use flash for music photography (never ever for shooting during a concert), but sometimes I might need to use it for a backstage portrait if the light is really bad. The Nissin i40 is small and slips in the F2 between the sidewall of the bag and the smaller of the lens inserts. It sits in there and I forget about it until I need to remember. The i40 runs on 4 AA batteries and has enough power for anything I need on a music shoot. If I am required to shoot promotional portraits or promo shots, I will take a bag full of Yongnuo YN560 IV’s, stands and modifiers. But that’s another story.

AUDIO EQUIPMENT

After being asked to shoot some after-show video clips and interviews without any notice, then having to cobble a less than ideal setup to get by with, I now always keep a small audio kit with me. You have already seen where I keep the Zoom H1 inside the main compartment of the F2, and the Manfrotto Pixie that can be used as a tabletop tripod for shooting video. I use one of the front pockets to store a Rode lav microphone and extension cable (including an adaptor to allow it to fit the X-T3 or my iPhone). I also have a set of Apple earbuds for monitoring sound and a spare 3.5mm to 3.5mm cable that can be used to attach the Zoom H1 to the X-T3’s headphone socket. So I can record audio in camera, lav mic to Zoom H1 or both at the same time.

WHITE BALANCE

The other front pocket of the F2 is used for business cards and white balance tools. I have a Color Checker Passport, ExpoDisc and a set of white balance cards on a lanyard. Overkill? Perhaps. I also use this bag for portrait shoots so the Color Checker is invaluable.

OPTIONAL LENSES

The three lenses that I often swap out when needed are the 12mm f2.8 Samyang, the Fuji 10-24mm f4, and the awesome Fuji 90mm f2. These lenses all have their use, but it can often depend on the venue or the job. For instance, The 12mm Samyang is useful if I can get on stage behind a band or orchestra and shoot toward the audience.

CARDS AND CLEANING

I also take a JJC SD card holder (stored in with the white balance tools) and both the RocketBlower (F2 side pocket) and a Lens Pen. I also have a lens cloth in my belt pouch. I don’t use lens caps so like to clean my lenses before a show.

iPAD

It’s not shown in the photos, but I also keep an iPad Mini inside the zipped pocket in the top lid. I often send a couple of pictures during the interval from a camera to the iPad using the built-in wifi feature. I edit these using Snapseed and then send them to the client so they can be used on Facebook to promote the following night’s performance. It saves me having to do it when I get home.

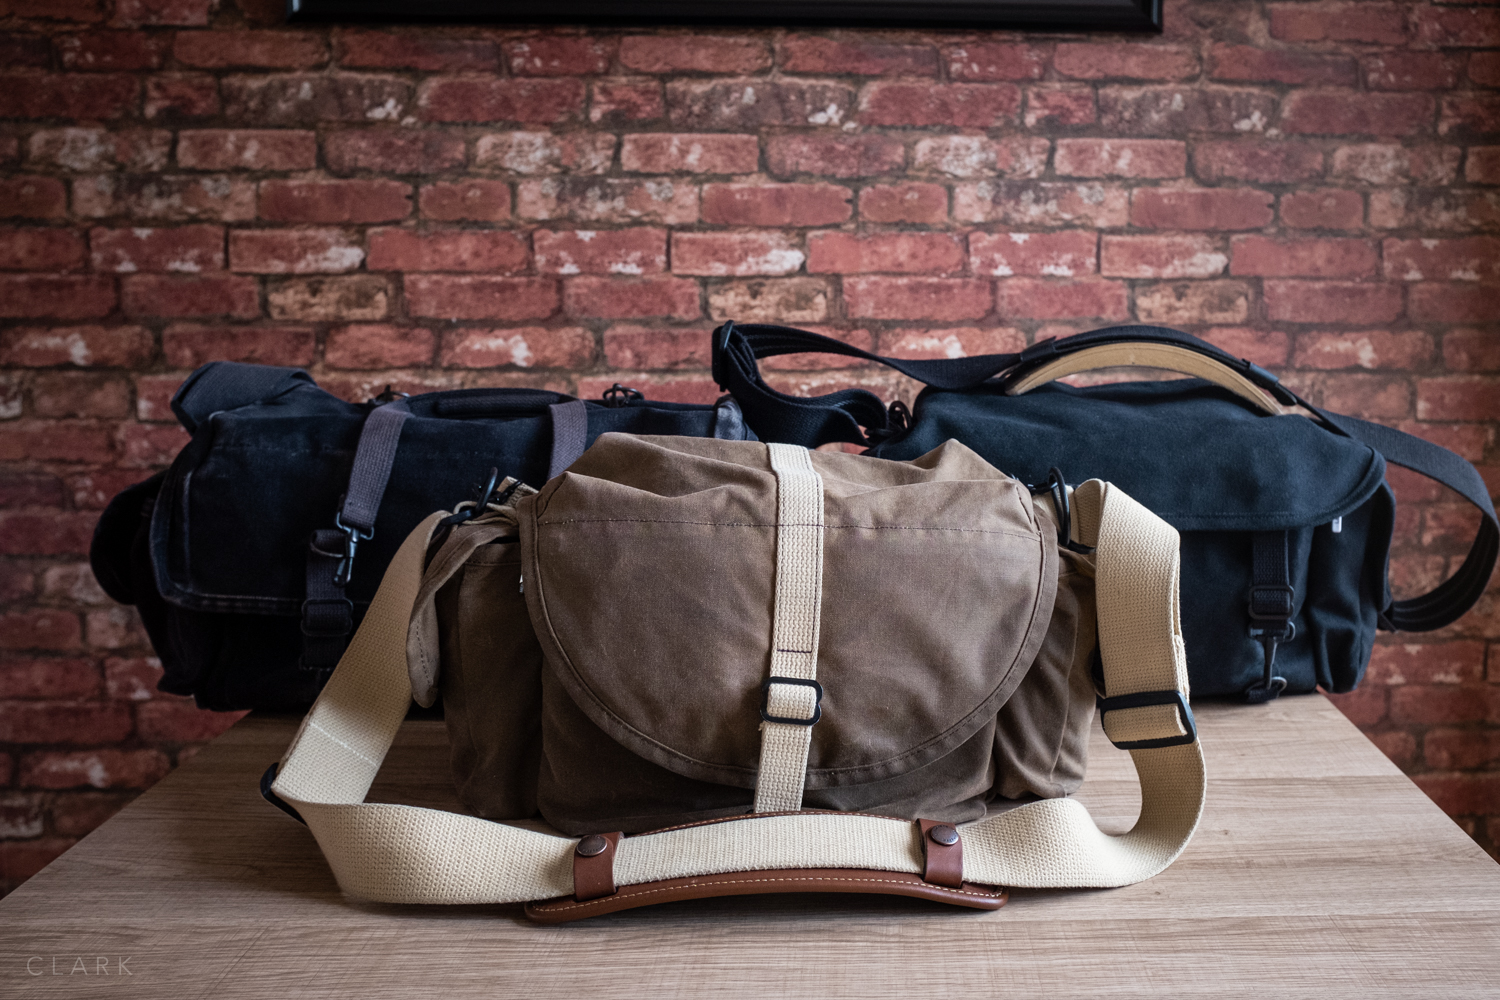
Lowepro CompuTrekker 350 backpack, Domke F2 and the Domke F-1x

OPTIONAL BAGS

If I really must take extra gear I can use the larger F-1x (bottom right in the picture above) which can hold a massive amount of gear but can get too heavy. Or I might opt for the LowePro Computrekker 350 backpack if I’m travelling by train and have a long walk to the venue.

A FEW LAST TIPS

  1. Always have more than one camera.

  2. Always have at least one camera with a lens attached in your bag.

  3. Always keep spare batteries and cards on your body.

  4. Use a belt bag or pouch to carry your spares and phone.

  5. Make sure you get a photo pass from the venue or the client.

  6. Lock in your white balance, it will save you hours of editing time later.

  7. Shoot completely manual. I tend to shoot at f2.8, /125th of a second and adjust my ISO using the front command wheel.

  8. Clean lenses before a show.

  9. Sync camera clocks before the show (see below if you forget).

  10. Make sure you have enough space on SD cards for the full show.

SYNCHRONISING CAMERA CLOCKS AFTER THE SHOOT

It is crucial to synchronise the clocks on all cameras used on a shoot. It’s always better to do this before the gig, but it’s very easy to forget. So here is a method I use when I get home. I use a world clock app called ClockZ which constantly updates the time and is extremely accurate.

  1. Shoot a photo on each camera of your phone while it displays the world clock time.

  2. Ingest all the pictures from your shoot into Lightroom.

  3. Press G on your keyboard to enter Library Module Grid Mode.

  4. Click on Metadata above your pictures.

  5. In the camera section, choose one of your cameras.

  6. Now go to the last picture you shot (which should be the one of your phone).

  7. Click on that picture.

  8. Hold down Command (Ctrl on Windows) and press A on your keyboard to select all.

  9. Now ho to the Metadata menu at the top of your screen and choose Edit Capture Time.

  10. Make sure ‘Adjust to a specific time and date’ is checked.

  11. Input the time & date from the picture of your phone into the ‘Corrected Time’ section.

  12. Click ‘Change’. It will warn that this can’t be undone but don’t worry about that.

  13. Now repeat the process for your other cameras and all your pictures will be in sync.

If you have found this post helpful and you are thinking of buying any of the gear I use? You could help me out (at no cost to yourself) by buying from Amazon UK using the links below. Thanks.

One Frame 003: Out Of His Shell

001_DerekClarkPhoto-One_Frame.jpg

While leading a street photography walk for Fujifilm UK during London Photo 24 back in 2017. I took the group of photographers through Camden Market. On our way out the back of the market and over the bridge, this man was standing, coffee and walkman in hand, looking like Touché Turtle with a gym membership. Impressive for a man of his age and he was quite happy to show it off. Although this scene looks scarce of people, there were hundreds behind me.

I could have taken the sign on the wall behind him and taken this post in a different direction - but let’s not go there.

SHOT WITH FUJIFILM X70

One Frame 002: TV Guys

While walking through some narrow alley-ways in Barcelona, I came to a point where I could either turn left or right. But the light coming in from above, paired with the graffiti on the shutter in front of me was interesting. So I waited for someone interesting to pass through the viewfinder of my X-Pro2. A few people moved in and out of the frame, including girls that couldn’t make up their mind which way to go, or couples out for a stroll. But if you wait long enough something interesting will happen.

Suddenly these two guys walked through the frame carrying a large TV and I knew at that moment that I had the frame I had been waiting for. It didn’t occur to me until much later that there is a great shot by Magnum photographer Abbas in his ‘Return To Mexico’ book that has a similar picture. Now I couldn’t have predicted these guys would walk into my frame, so no copying occurred. Abbas has the best shot of course as it has a better TV and the dog is the icing on the cake. But I do like my Barcelona shot too.

SHOT WITH FUJIFILM X-PRO2 & 35/2

One Frame 001: School Days

INTRODUCTION TO ONE FRAME

This is the first instalment in a new series called ‘One Frame’ where I’ll be taking a single frame from my archive or something recently shot and giving some details around it. That could be technical information, background, what was happening in the scene, composition, or even just trying to explain why I like a certain picture, even though some wouldn’t consider it a good shot. These single frames will often be street photographs, but anything goes in this series. I’ll keep it loose!

SCHOOL DAYS

The picture above was taken by me when I was in high school. My science teacher Bobby Heard actually set the camera up on a tripod and placed a chair behind it so that pre-growth-spurt me could reach the camera, look through the viewfinder and press the button. This might have been first or second-year pupils (12 or 13 years old) but I really can’t remember.

What I do remember is the thrill and fear of this experience and going straight to the darkroom in the science lab, processing the film and printing a few copies. One of these copies I still have to this day, mounted on brown board and kept in a bag with clear plastic on one side and paper on the other. I was hooked, and spent a lot of my school time in the darkroom when I should have been in English or Maths…probably why my spelling is so bad to this day.

The chemist that I bought most of my film off around that time was selling a Knome Beta II enlarger, so I convinced my dad (who didn't take much convincing) that I needed that enlarger, some trays and chemicals, to set up a darkroom in the house. I still have that enlarger and those trays to this day.